
Creating the Oakley Editorial No One Requested
A few weeks ago, while working on a project with a few friends, I had the opportunity to take some snaps for an Oakley Editorial. Although I wasn't directly working for Oakley or anything, I saw an opportunity and seized it! And since it turned out well, I thought I’d share a few things I learned doing that kind of work.
I usually work "instinctively”, so it's quite a change when I need to follow directives to create images. However, working under guidelines has been a challenge that significantly boosted my skills. So here we go!
Define a theme: If it's around a product, a place, or just an idea, following a general guideline when shooting will make your work significantly easier. Define for yourself a list of things you'd like to capture or the visual effect you'd like to create.
Color palette: That’s something that I try to do all the time, when I do a bike-check. Setting myself a color palette will also help how you compose your shots, and how you’re going to use the environment around your subject.
Lighting: By far the most important element. Lighting can be tricky outdoors, but especially for bikes, you don't really want super harsh sunlight reflecting on the tubes, creating burnt highlights everywhere. I personally find it fascinating to have both, mellow light hitting your composition and also more or less sharp shadows for that extra bit of contrast.
Negative space: Finally, your subject doesn't always need to be in the center of the frame. Work with what's around you, and try to compose your image with everything that I mentioned before: lighting, colors, or just an element that you'd like to incorporate in the frame.


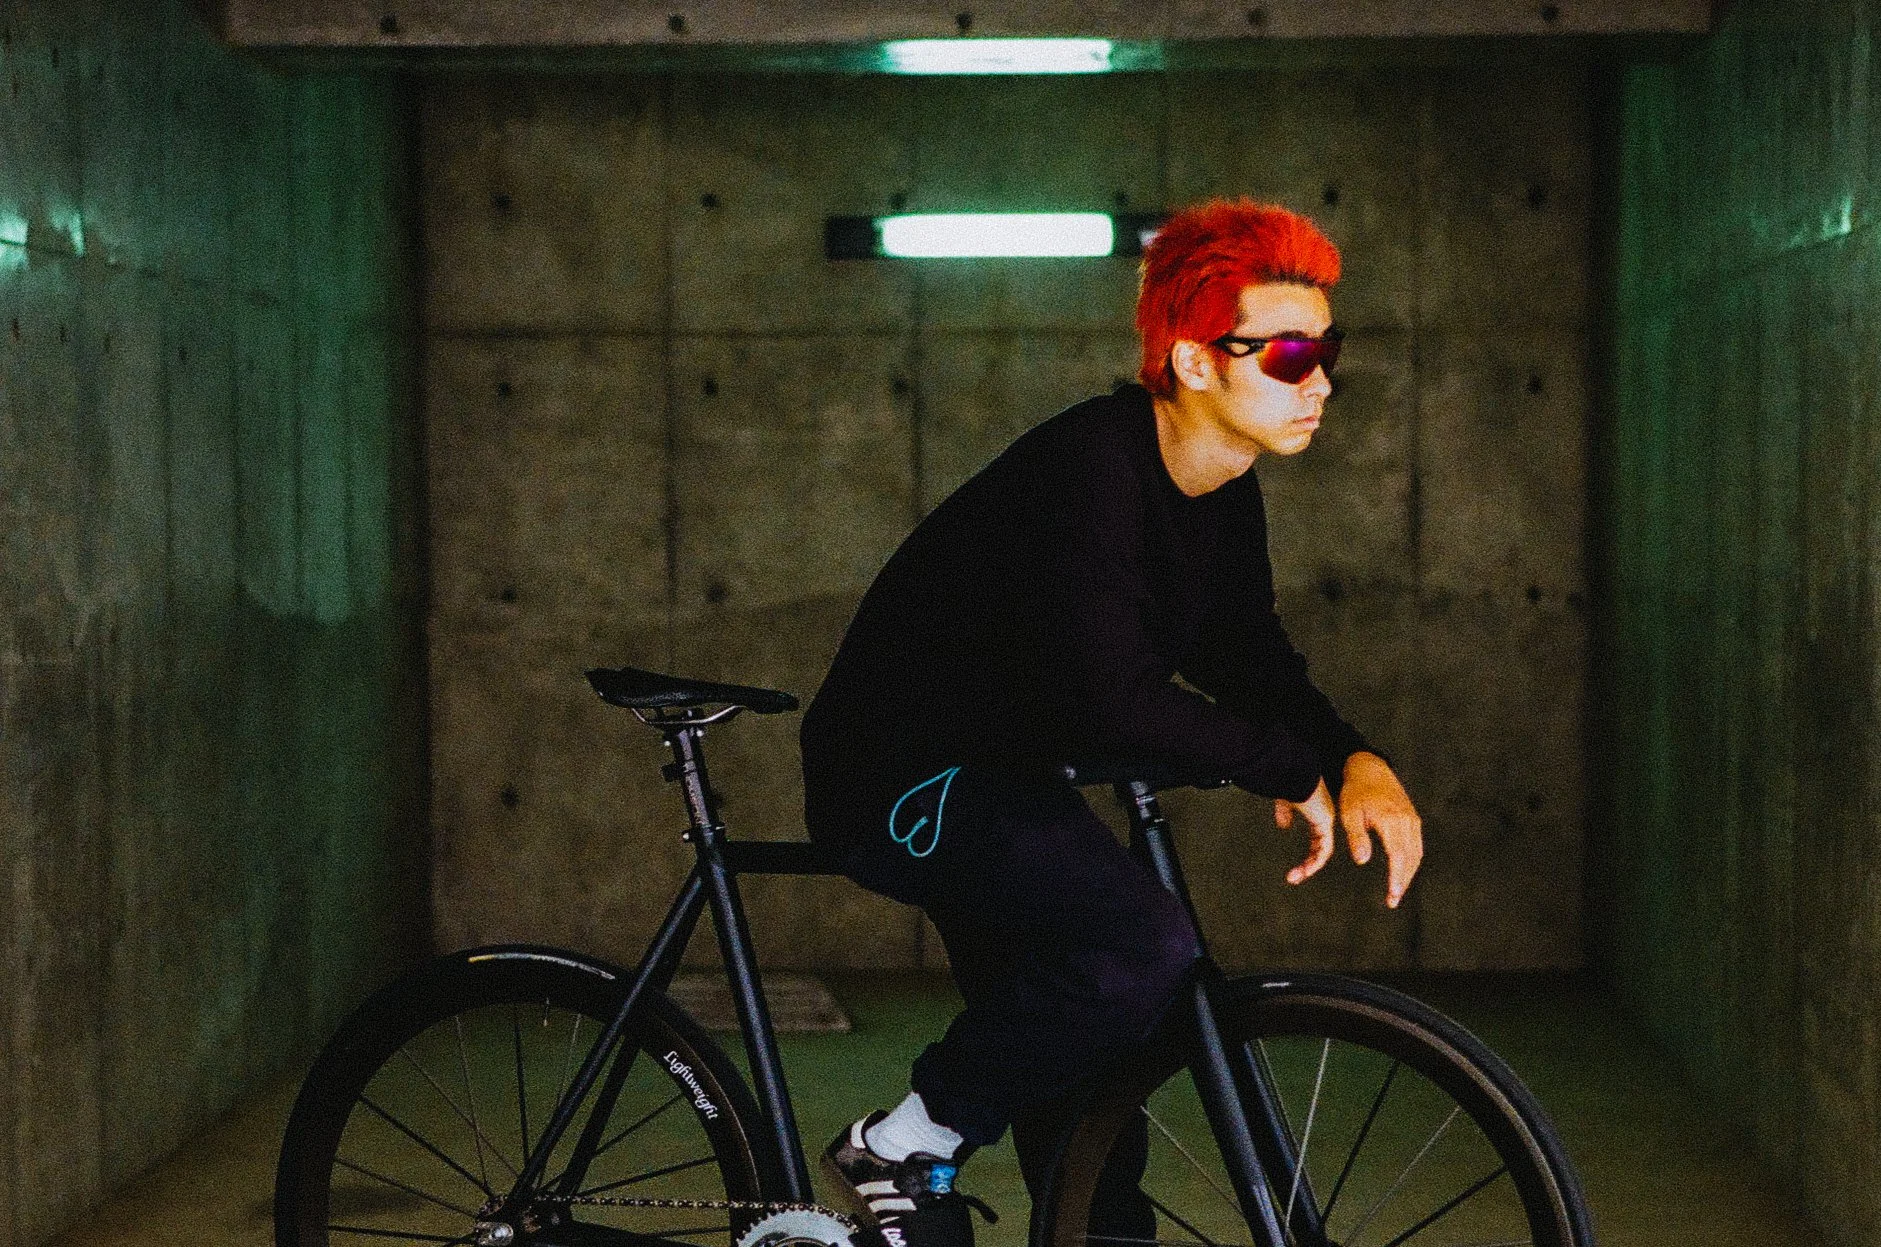


At the end of the day, what you want to avoid is an image that appears flat or kind of shallow. I'm not claiming to have the perfect technique, but these tips might help you give more direction for your shots.

Some of these looks good though.
🎞: Kodak Portra 160
📷: Leica M6
📍: Tokyo